This is the semi-final result...
Supplies:
*several large print images - As most of you know, I have a very good friend who just happens to be the owner of Spirits Breeze Photography who so graciously took and ordered mine for me. If your not as lucky, you could also use SmugMug for printing - they are amazing! Don't skimp on photo printing if you are going large format. Go big or go home, that's my motto!
*layout of what you want your design to be
*large pieces of custom cut insulation foam
*enough inexpensive black fabric to "wrap" each of the pieces of foam
*spray adhesive
*staples and duct tape
*adhesive Velcro
*level and ruler
Okay, here we go...
Josh and I went to Lowes to find some inexpensive insulation foam. Some people say that the employees will cut the sizes you need, but this was not the case for us. They sent us home with two huge sheets. Josh used a razor blade to cut the sizes I had written down for him.

Next up was to give the foam a canvas-y look. It was suggested NOT to try and paint the foam edges black because it would warp the foam. So, the next best thing...wrap them in inexpensive black fabric. Sort of like a present...The only part of this fabric that will show is the edge. I wanted it to sort of blend into the background but still pop on the wall.
Here I am stapling the fabric to the foam. That was easy. Notice that is a plain stapler.
I just wrapped it like a present, doing my best to insure that I got the sharpest corners possible.
I then decided to use some good old fashioned duct tape just to further secure the staples. Elegant - no. Sturdy - yes.
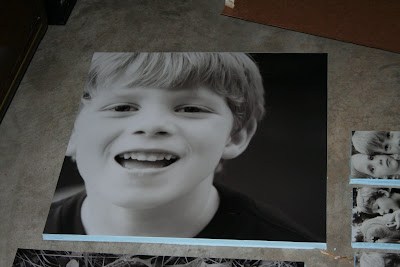
Next step - I sprayed heavy duty adhesive spray onto the front of each "canvas". I don't have a picture of it. But I just placed each print onto the sticky canvas and rubbed it with a very soft cloth (my t-shirt) to get it to adhere. This was really easy, too.
I forgot to take a picture of my complete, laid out design. The biggest photo I used was a 20X24. I also had a 10X20, 16X20, 20X20, a couple 8X8's and 4X6's.
Here are the large ones done!! They turned out pretty well! I can't wait to get them all done and hung on our wall!!


3 comments:
nice blog.. keep blogging..
Sitka Alaska Fishing Trips
Carrollton Dentist
Tapshop321
Canada Freight
Freight Canada
I loved your project idea. It seems simple enough for me to do. Good Job! I think I will try to do it soon.
LOVE the pictures!!
Post a Comment